Kaleyra's WhatsApp Integration App is the solution for all your needs to reach out & connect with your contacts via HubSpot. This app enables you to send WhatsApp messages to individual contacts in a WhatsApp-like interface, right from within HubSpot, without launching any external windows.
Moreover, it also enables sending WhatsApp messages to several contacts at once, in an automated way, through HubSpot workflows. By integrating WhatsApp messaging with HubSpot, you can easily manage your marketing & sales outreach through WhatsApp.
- Want to inform attendees of the upcoming meeting about event details?
- Send WhatsApp messages with details, alerts or even documents about the meeting to contacts registered for the meeting
- Set up automated workflows in HubSpot with triggers based on incoming & outgoing WhatsApp messages
- Share documents, images, videos or audio files with the attendees
- Want to send automated replies to contacts requesting more information about products/services or requesting a demo?
- Set up a trigger based on incoming messages & send product details & demo links automatically
- Got a WhatsApp message requesting HELP/SUPPORT
- Automatically log support requests/tickets & quickly notify the support team about the request
Features
- Personalized Messaging
- Send personalized WhatsApp messages directly to contacts from within HubSpot
- Automated Messaging
- Automate sending WhatsApp messages by setting up workflows to trigger based on both received & sent messages in HubSpot
- WhatsApp-like Interface
- View the conversation with individual contacts in a WhatsApp-like interface from within HubSpot
- To launch the chat-interface, go to contacts, select the contact you want to check
- On the right side, below Send WhatsApp, click on Actions — Chats
- You can also send text messages from here after the conversation has started and the contact has replied to your initial message
- View the conversation with individual contacts in a WhatsApp-like interface from within HubSpot
- Types of Messages
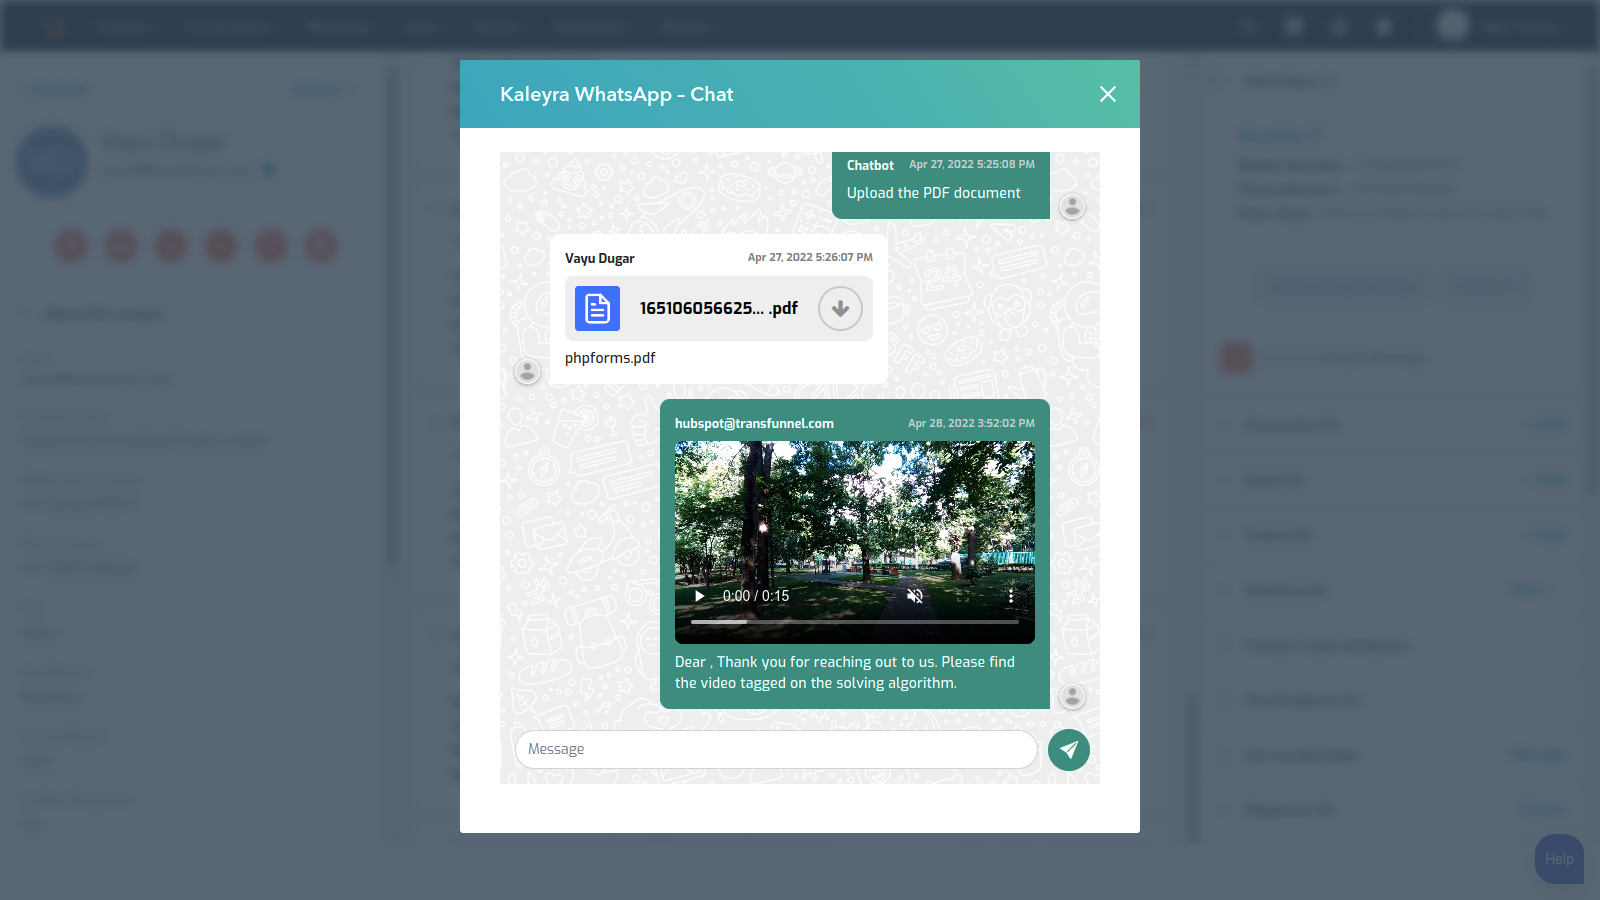
- Send & Receive various types of WhatsApp messages such as text, image, video, document & audio
Allowed message/media formats Type Format Text Message of maximum 4096 characters URL JPG | PNG | MP3 | MP4 | PDF | DOC(X) | XLS(X) | PPT(X) Image JPG | JPEG | PNG Document PDF | DOC(X) | XLS(X) | PPT(X) Video MP4 | MPEG Audio AAC | MP3 | OGG Location Current or Map Location
- Send & Receive various types of WhatsApp messages such as text, image, video, document & audio
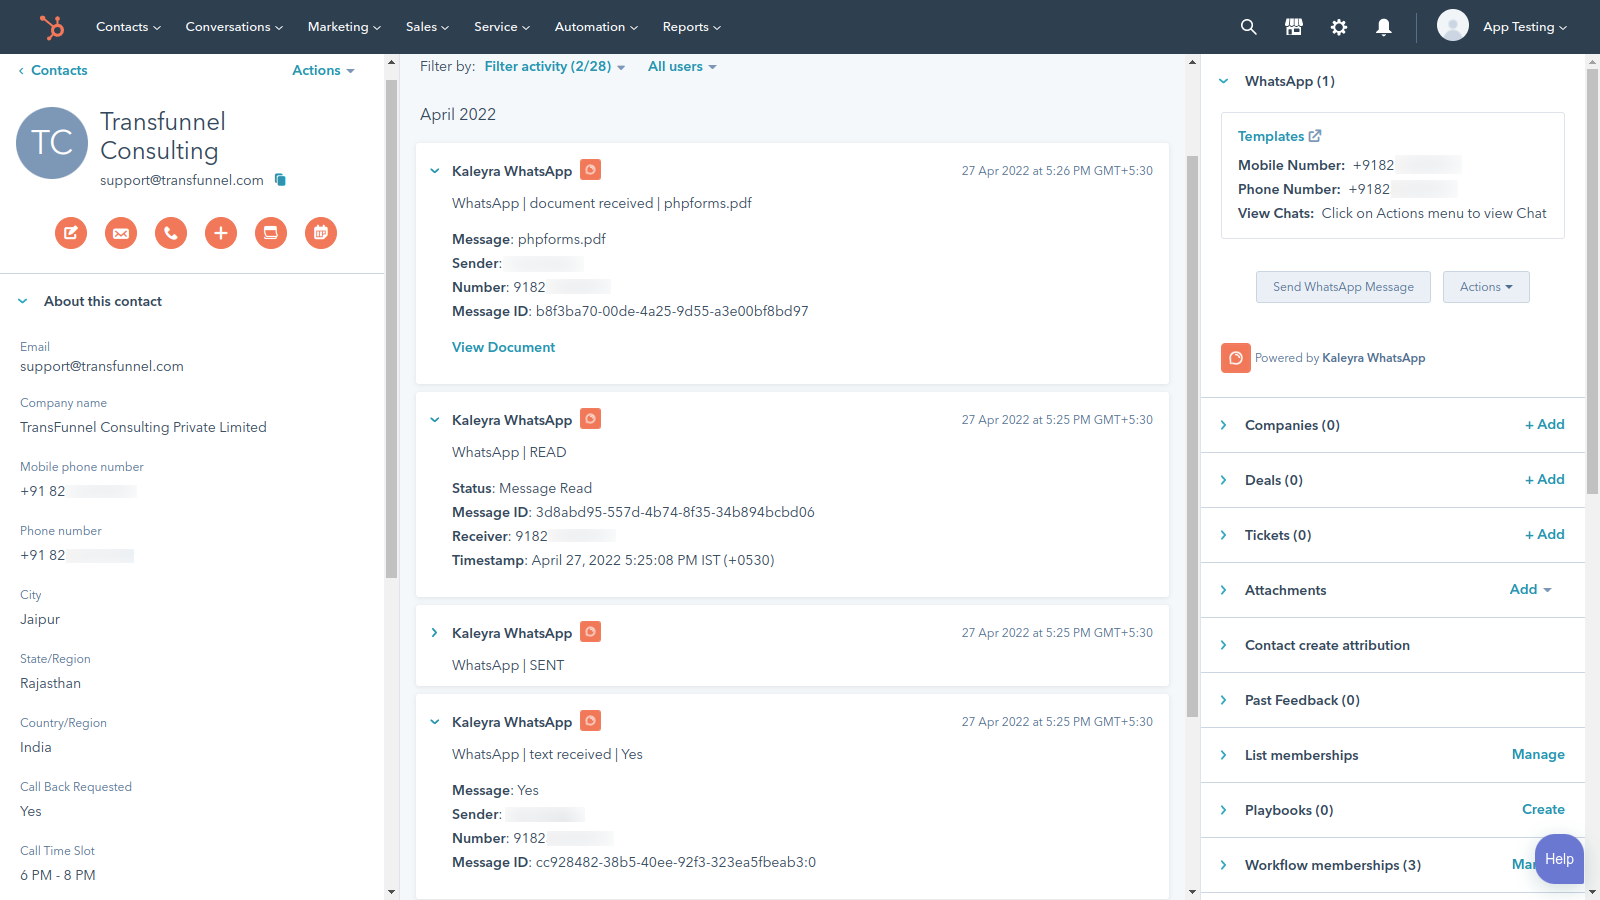
- View WhatsApp message details from a contact’s activity timeline at any point of time. Details such as the message status (SENT | DELIVERED | READ | FAILED), the unique ID of a message and timestamp are also available
Installation and Setup
- To install the Kaleyra's WhatsApp Integration App Click here!
- Click Install
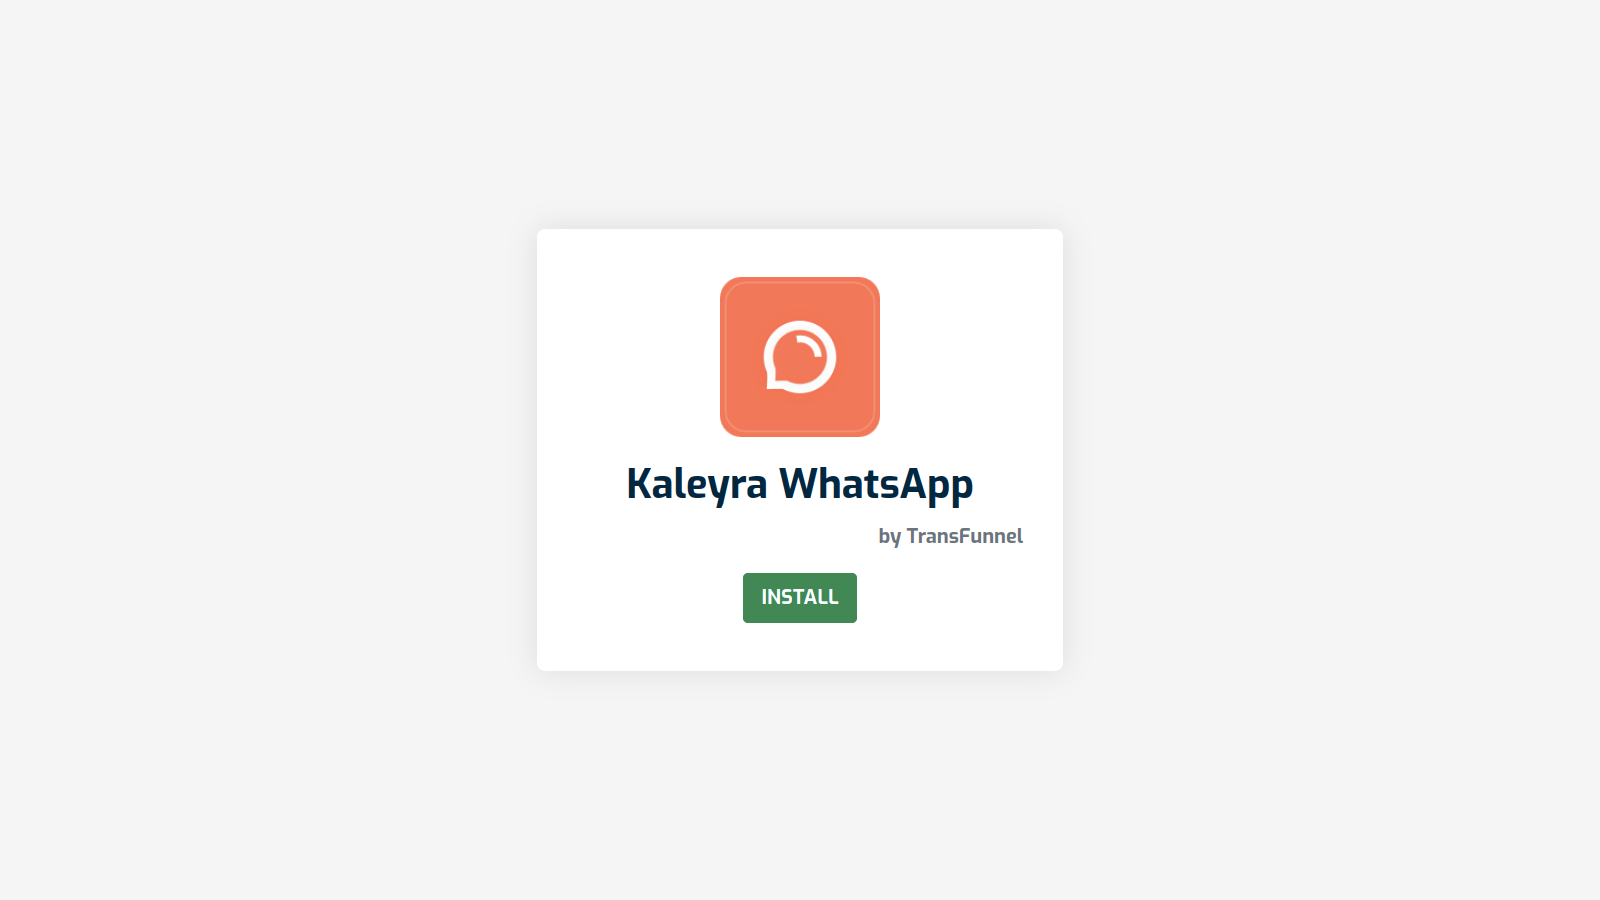
- Once the list of available HubSpot accounts is displayed, choose the HubSpot account you want to connect the app with

- Click on Connect App to connect the Kaleyra WhatsApp with HubSpot
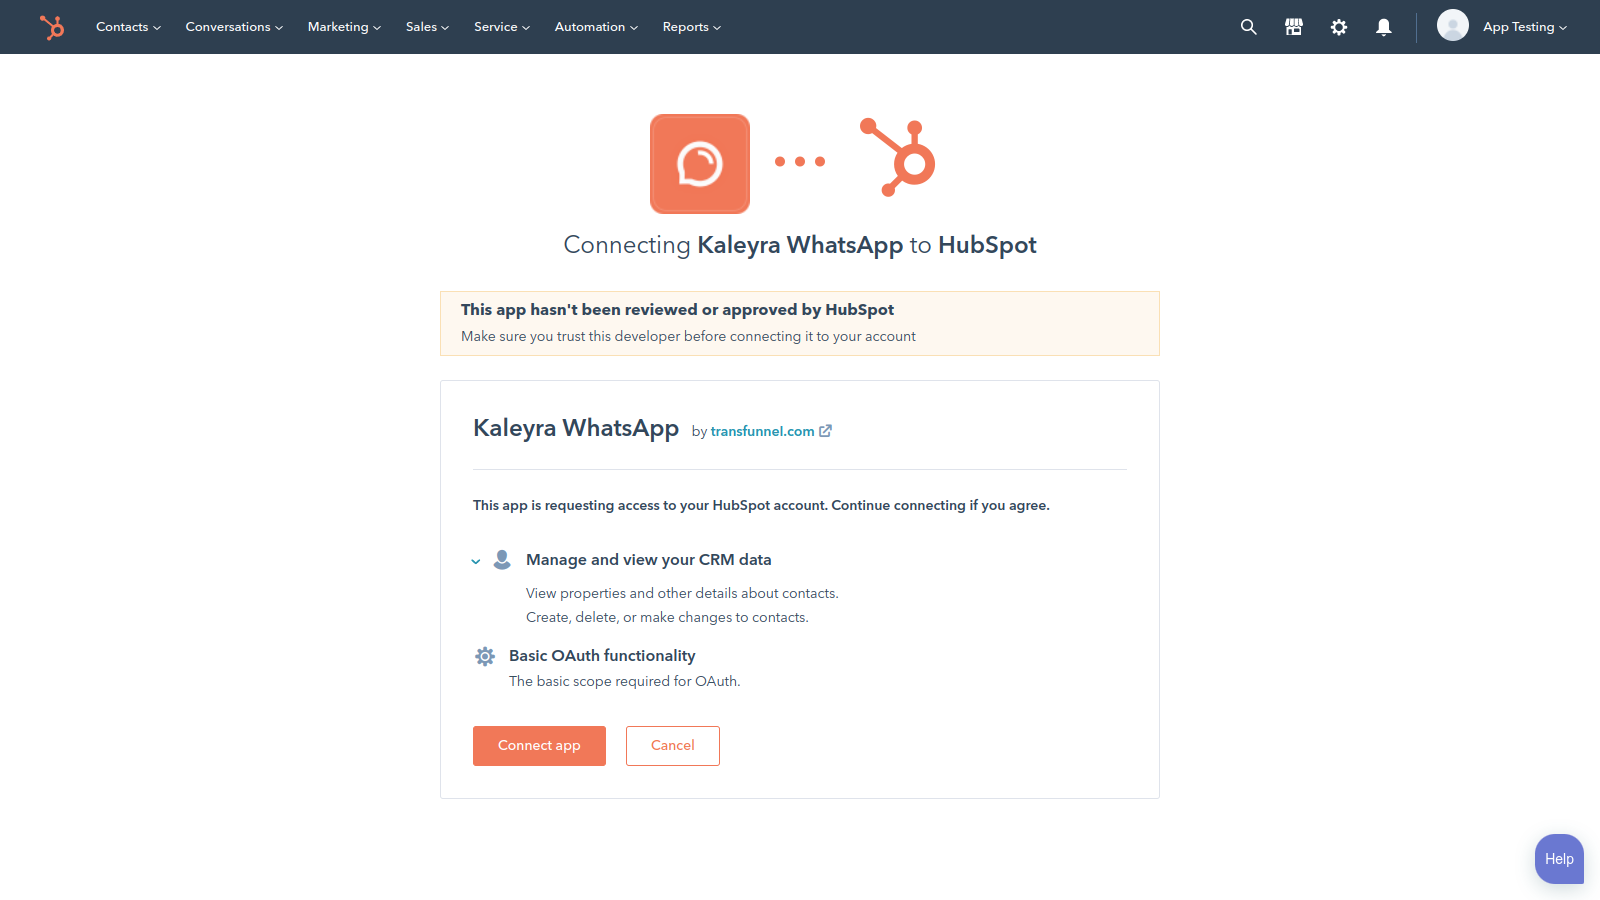
- You'll be redirected to a form where you need to fill the following details:
- Kaleyra API Key
- Kaleyra Security Identifier (SID)
- WhatsApp Number (Business account)
NOTE: Get your API key, SID from the Developers tab in Kaleyra
- Add the provided URLs (shown in Blue) to the Callback URLs section in your Kaleyra account settings
- Submit the form by clicking on Submit
Your installation is complete!
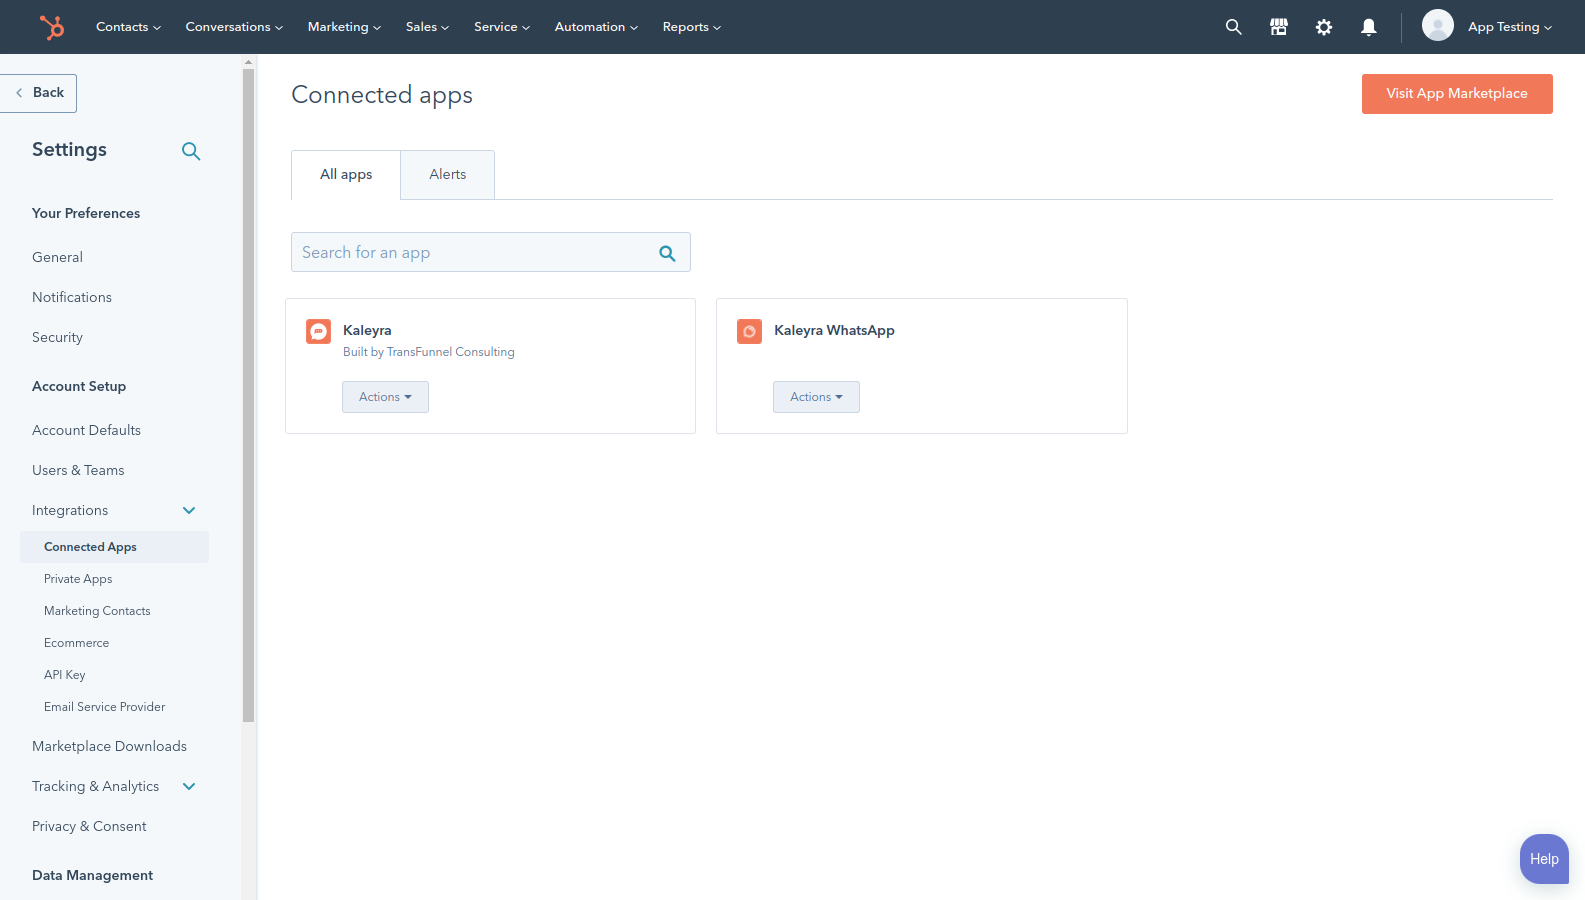
Finding Kaleyra WhatsApp App in HubSpot
- Click on the settings icon
- On the left side-menu, click on Integrations
- In the sub-menu, click on Connected apps
- Here you can search for “Kaleyra WhatsApp”
Setting up Message Templates
To start using the WhatsApp integration, you need to add message templates on the Templates portal. To add a template, follow these steps:
- In your HubSpot portal, go to Contacts ➜ Contacts
- Open any Contact's page
-
On the right-hand side, under the Kaleyra WhatsApp section, look for the Templates link and click on it
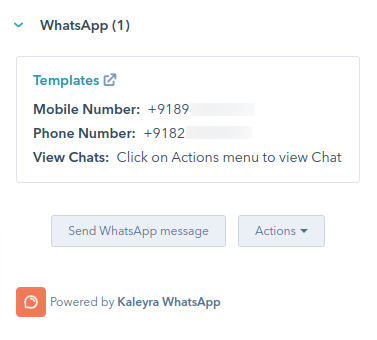
- You'll be redirected to the Templates portal. Here, you can View, Create, Edit or Delete Templates

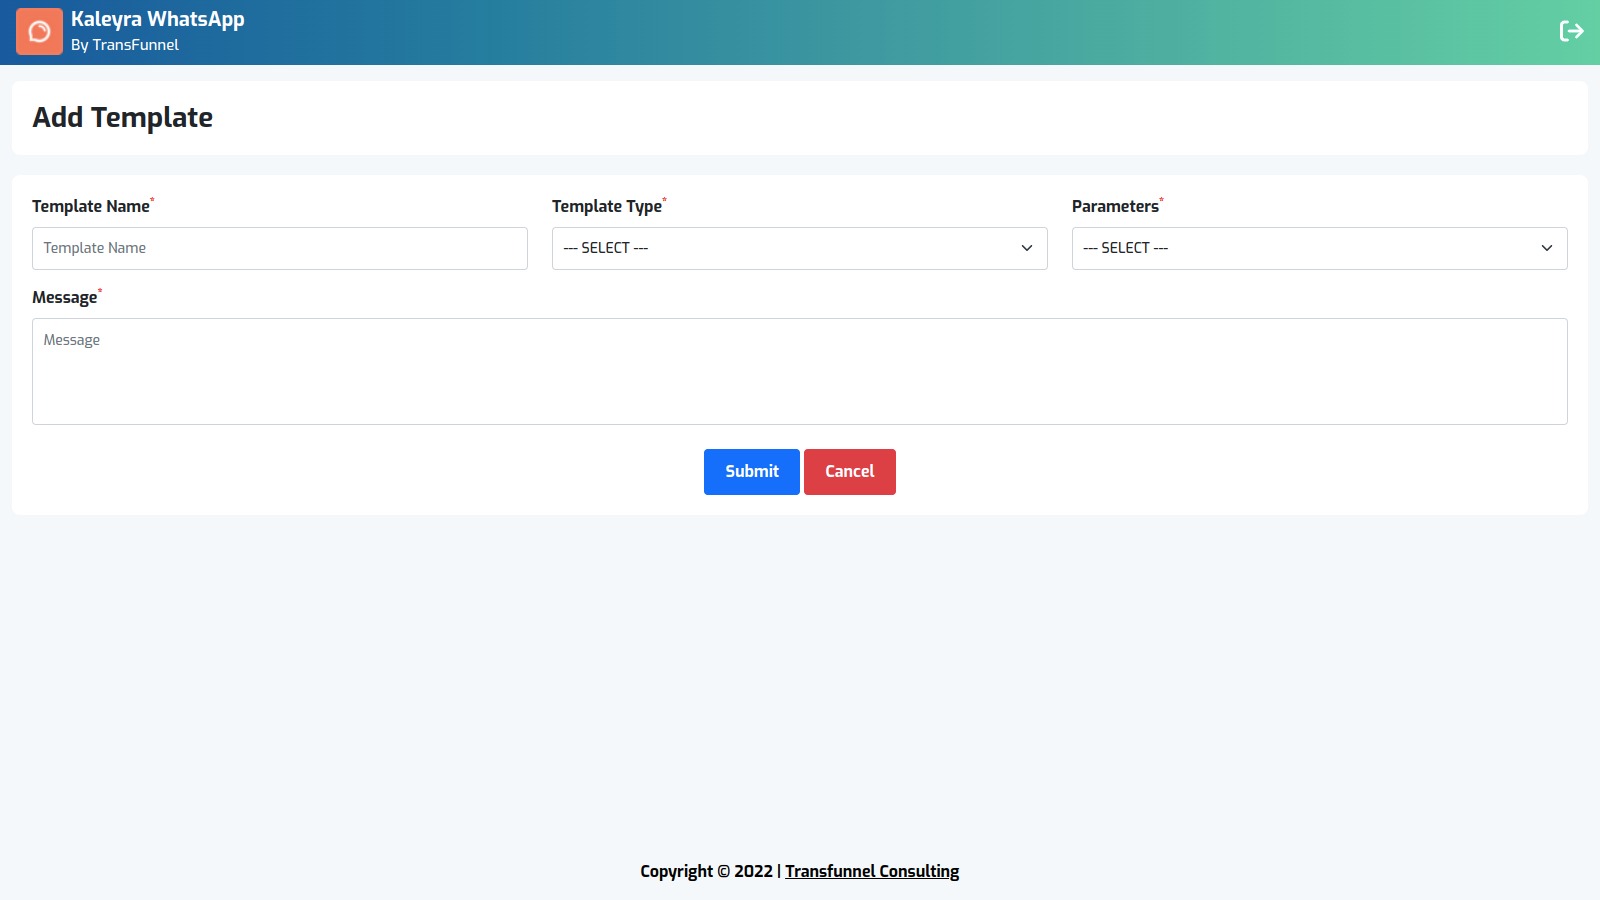
- To create a template, as per the templates already approved in Kaleyra portal, click on Add New Template. A form will open, enter the template name and choose either Text or Media
-
For Text Templates
- Enter template name
- Select Type — Text
- Select number of parameters (if present in the template)
- Enter/Copy the message from your Kaleyra portal here
- Submit form to add template
-
For Media Templates
- Enter template name
- Select Type — Media
- Select Attachment Type — Image, Audio, Video, Document
- Select the number of parameters (if present)
- Enter/Copy the message from your Kaleyra portal here
- Submit form to add template
- If a template contains parameters, then add their suggested parameter names - these are easy to understand names of the parameters that will show up in HubSpot to users, guiding them about contact token(s) to use for these parameters in the message templates. For example, a template is supposed to have First Name as its parameter. So, the suggested parameter could be First Name. These are optional but it is recommended to add them, making it easier for the user to know what contact token(s) to select from HubSpot.
-
For Text Templates
Sending WhatsApp Messages to individual HubSpot contacts
- Open HubSpot ➜ Contacts ➜ Contacts
- Choose a contact to send WhatsApp message
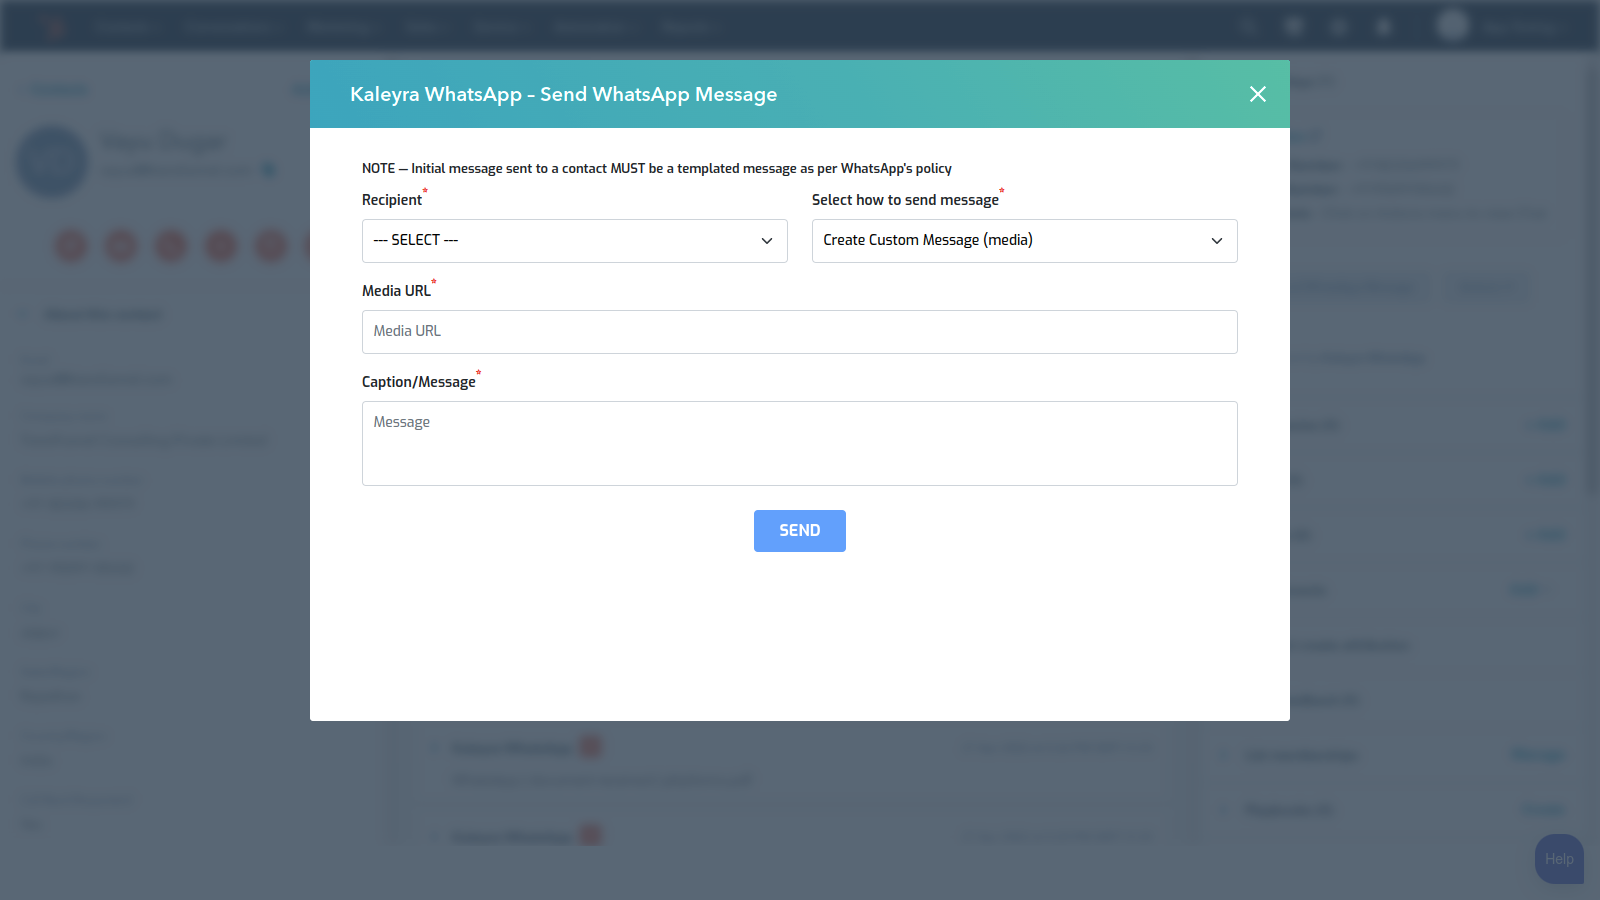
- On the right side, under Kaleyra WhatsApp, click on Send WhatsApp Message
- In the Recipient, choose either Mobile number or Phone number from the dropdown
- Select how to send message, there are 4 options:
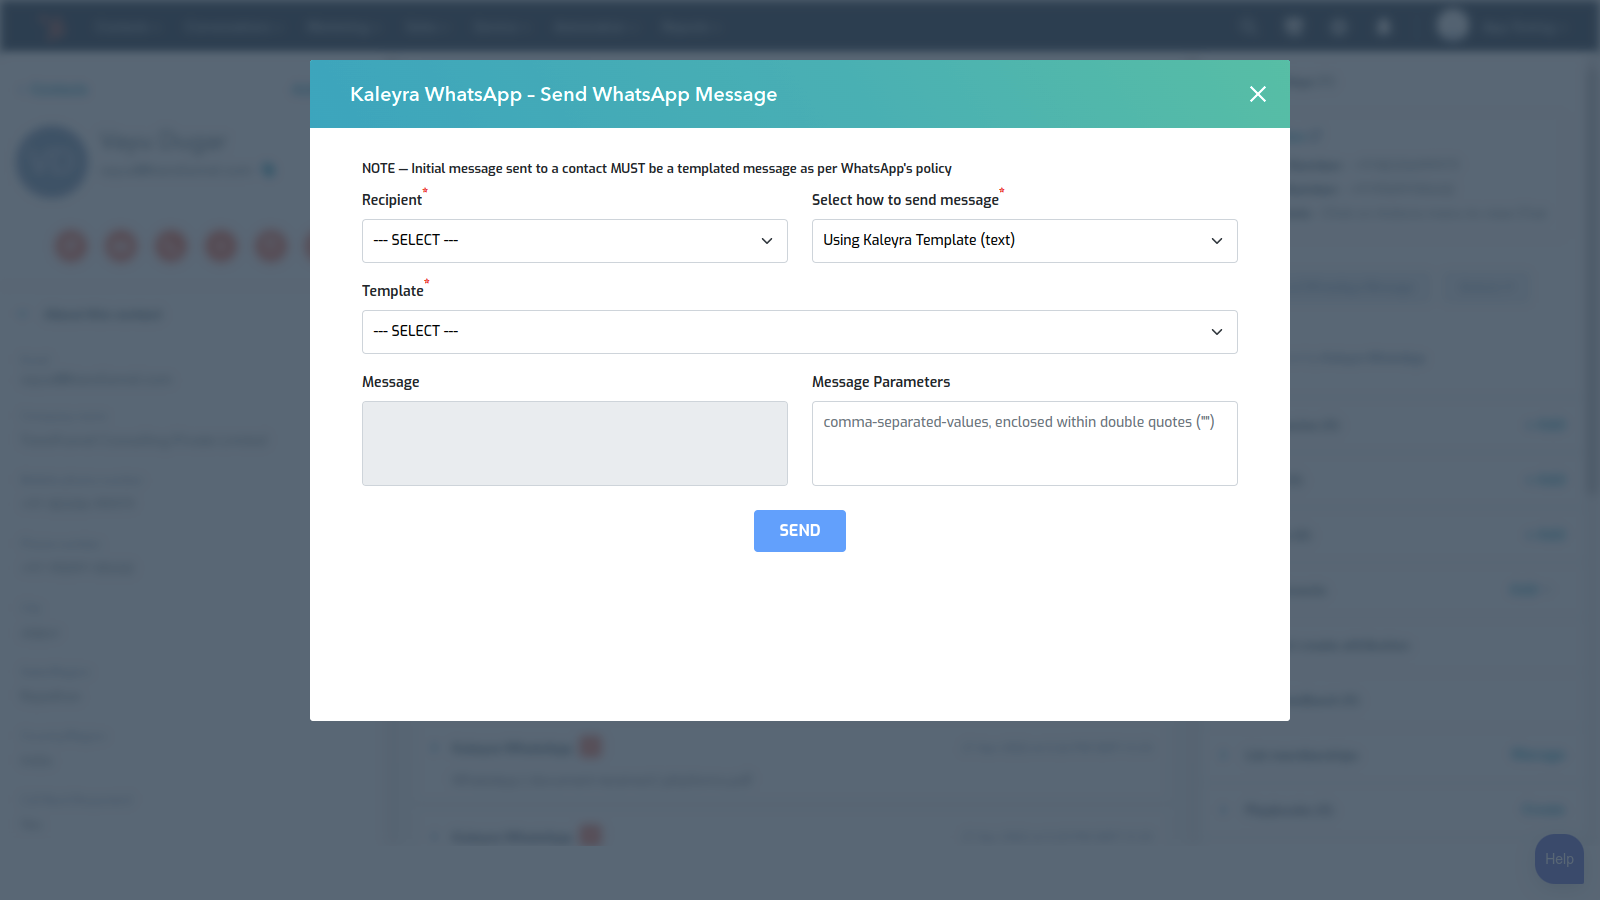
- Using Kaleyra Template (Text)
- Select the Template
- Enter template parameters (params) as comma-separated values, enclosed within double quotes. You can skip this if there are no parameters in the template
- Click on Send
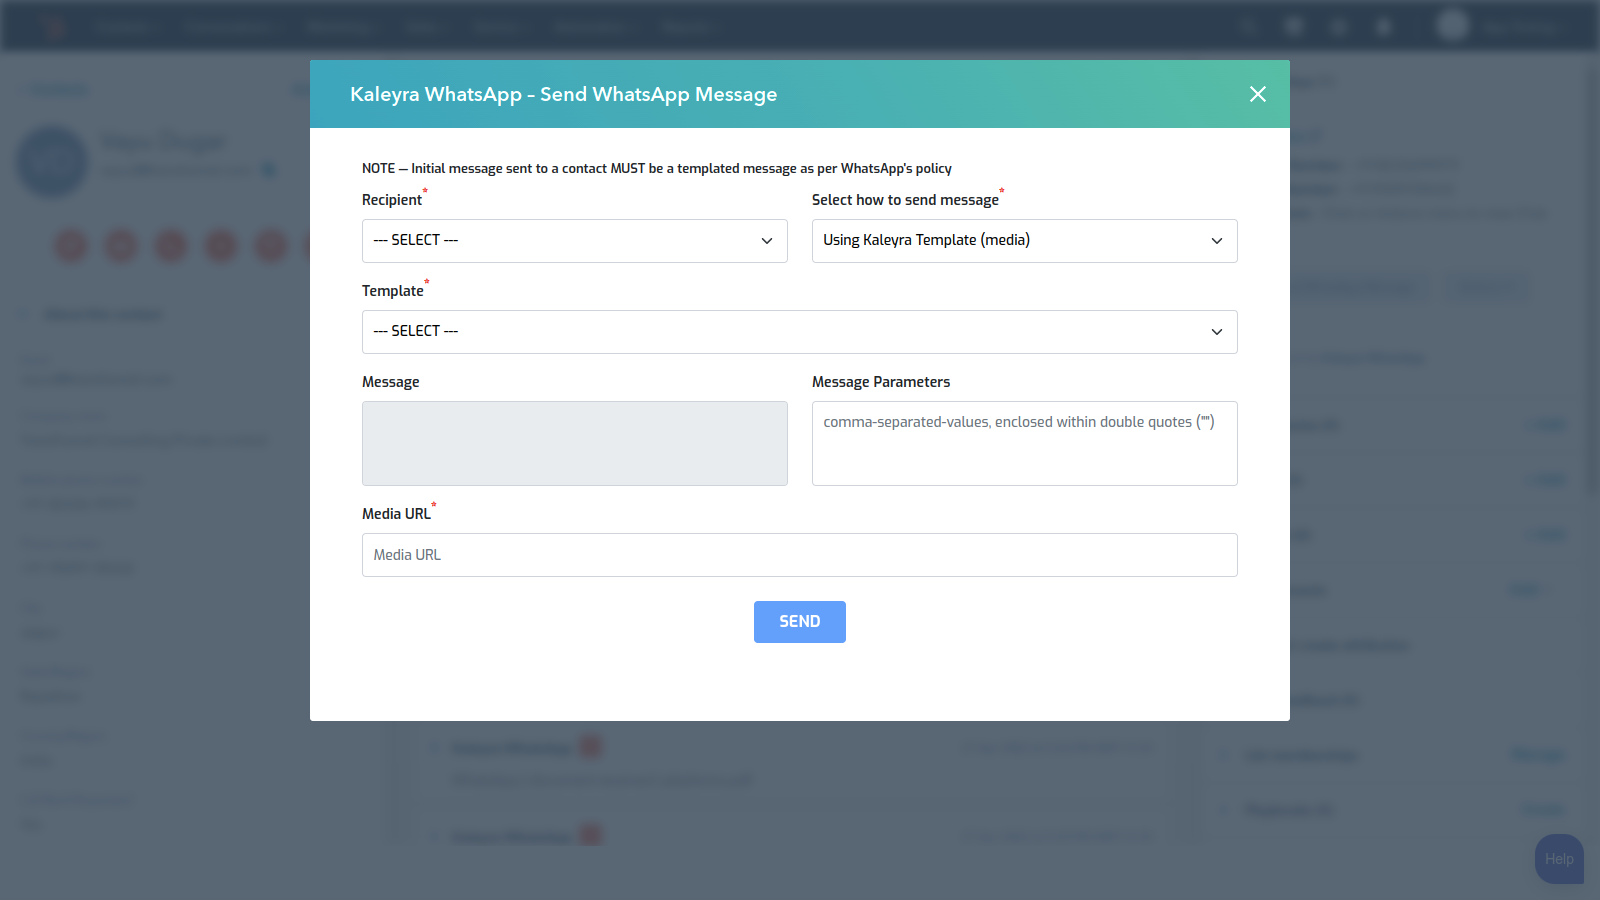
- Using Kaleyra Template (Media)
- Select the Template
- Enter template parameters (params) as comma-separated values, enclosed within double quotes. You can skip this if there are no parameters in the template
- Enter the media URL for the Image, Video, Document or Audio. Supported media types are JPG, JPEG PNG, MP3, MP4, PDF, DOC/DOCX, PPT/PPTX and XLS/XLSX
- Click on Send
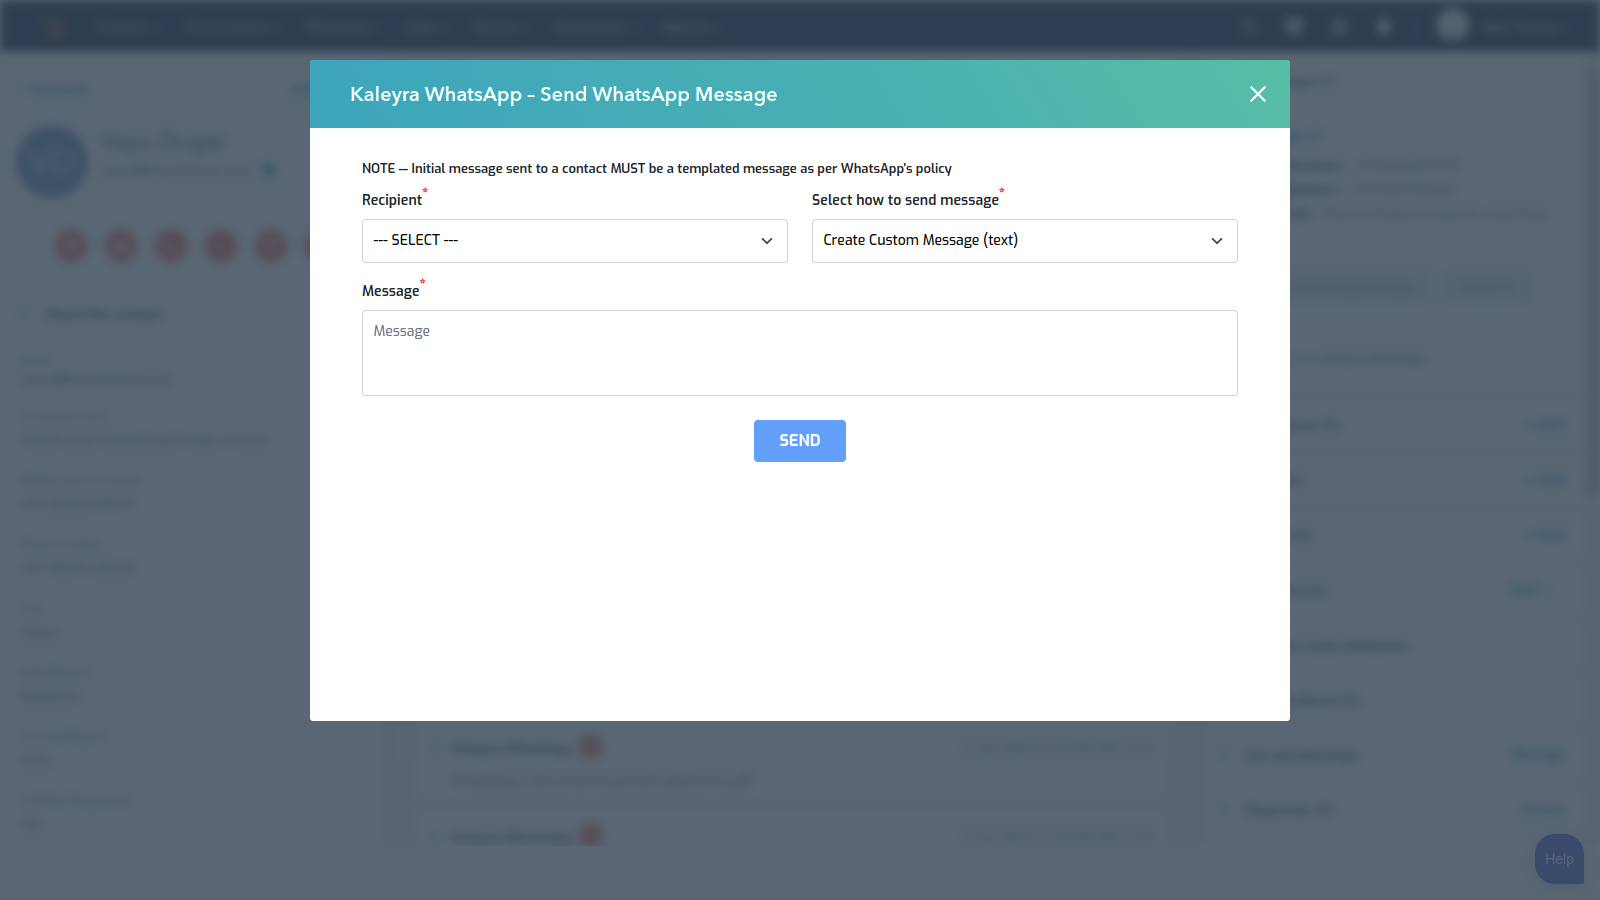
- Create Custom Message (Text)
- Enter the message to send
- Click on Send
- Create Custom Message (Media)
- Add the message you want to send
- Add the URL of the media to attach
- Enter the message/caption for the attachment
- Click on Send
- Using Kaleyra Template (Text)
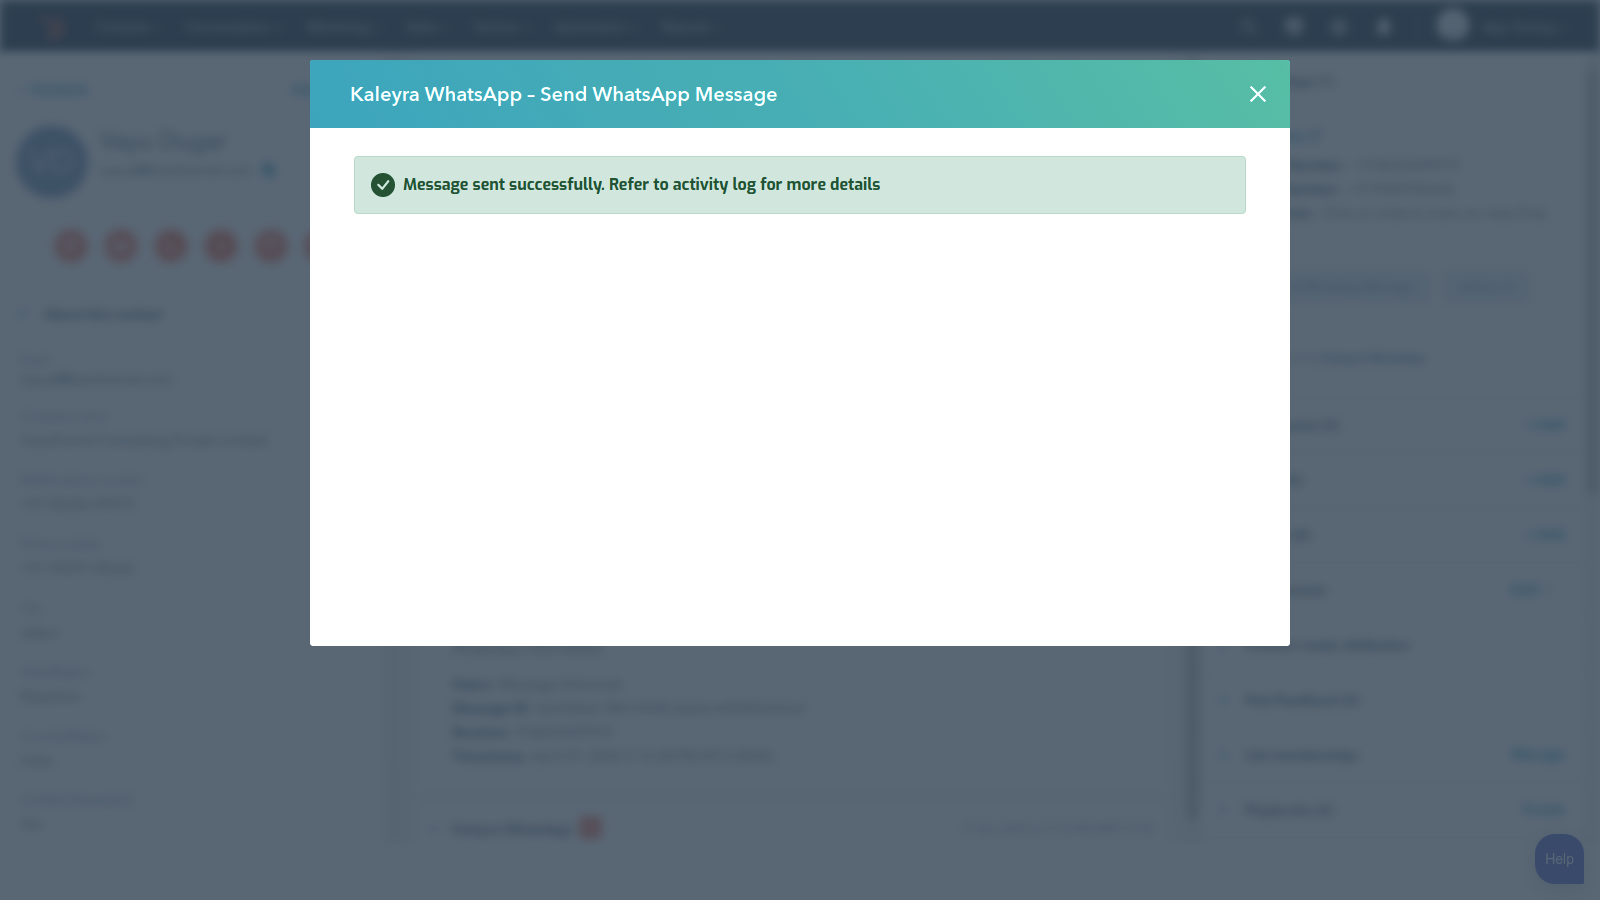
- After you click send, you will get a success message once the request is made
- Open the contact and go to the activity log to see the event with details for the sent message and events with details of message status: Sent or Delivered or Read


- Similarly, an event is also created when a message is received from the contact

- You can also see all your messages sent & received message for an individual contact in a WhatsApp-like chat interface that opens
within HubSpot. To open this window, Click on the Actions button ➜ Chat
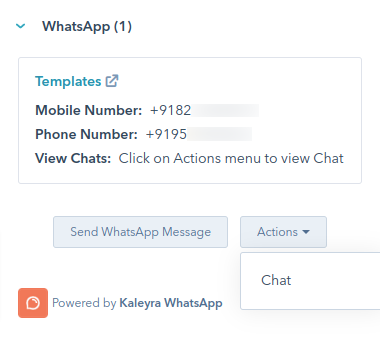
- On clicking Actions ➜ Chat, a WhatsApp-like chat interface showing all sent and received messages is opened
NOTE: As per WhatsApp policy, the first WhatsApp message you send has to be a templated message and not a custom message and once you get a reply from the contact you can send them several messages. There is a 24 hours window to reply
Sending WhatsApp Messages in Bulk to HubSpot contacts
- Go to Workflows on HubSpot from the Automation menu
- To create the workflow, setup the trigger to initiate the workflow
- Trigger can be based on several Kaleyra App events, including received message text
- You may choose to create a new deal, a new support ticket, reminders or tasks or send a new WhatsApp message based on the trigger
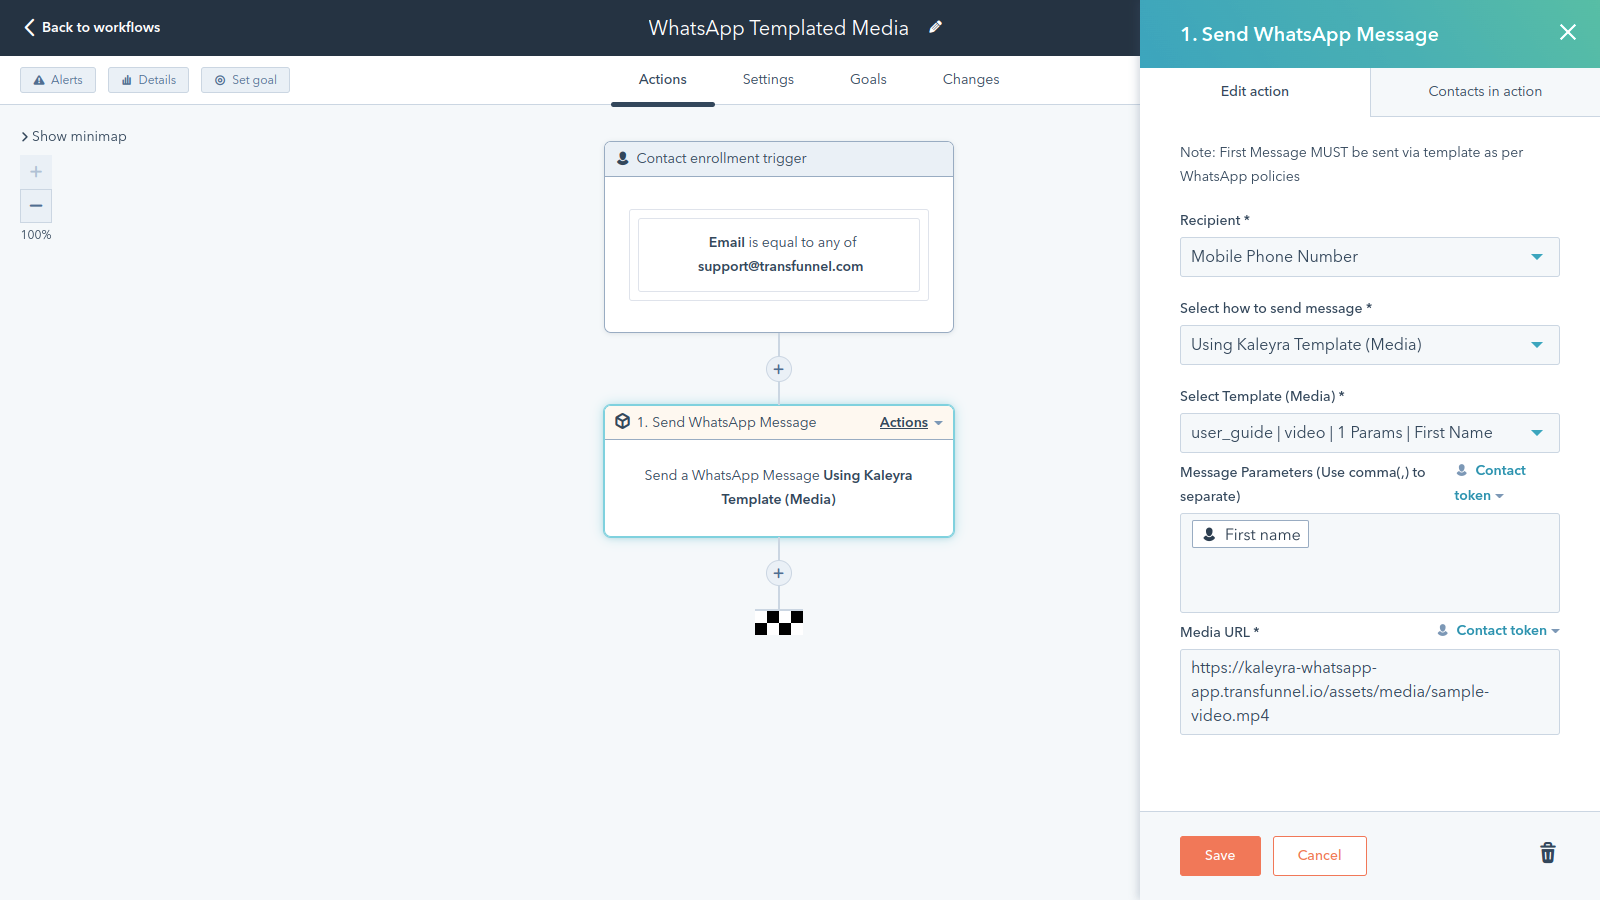
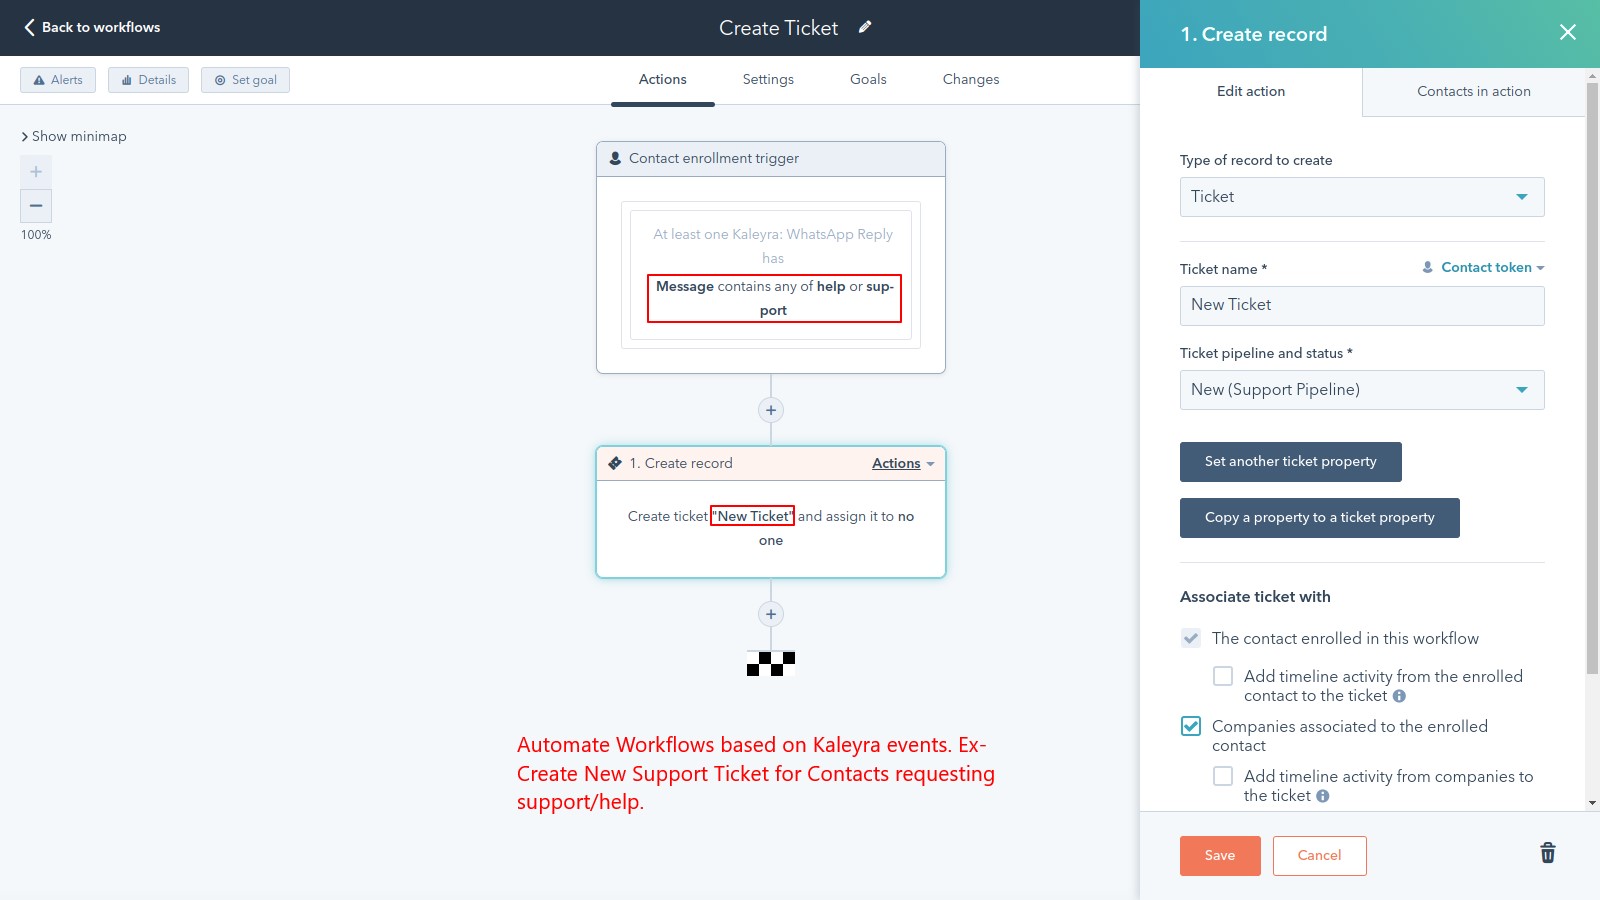
- To send a new WhatsApp message based on the triggers set, Click on Choose an action for Kaleyra WhatsApp, Send WhatsApp Message
- On the action details form, choose Mobile or Phone number
- Select how to send message, you can choose from the given 4 options:
- Using Kaleyra Template (Text)
- Using Kaleyra Template (Media)
- Create Custom Message (Text)
- Create Custom Message (Media)
- Save the Action after completing the form
- Click on review and publish to turn the workflow ON
- There will be one final review for the number of contacts that will be enrolled in the workflow and the message will be sent to. Click on Turn on to start the workflow
- The Activity log of the contact shows various details about the messages sent and received, like the message status (Sent | Received | Delivered). When sending of message fails, it also shows the reason of failure
NOTE: The first message must be sent using template as per the WhatsApp Policy. Once the receiver responds within 24 hours of the message sent, then as many messages as required can be sent.